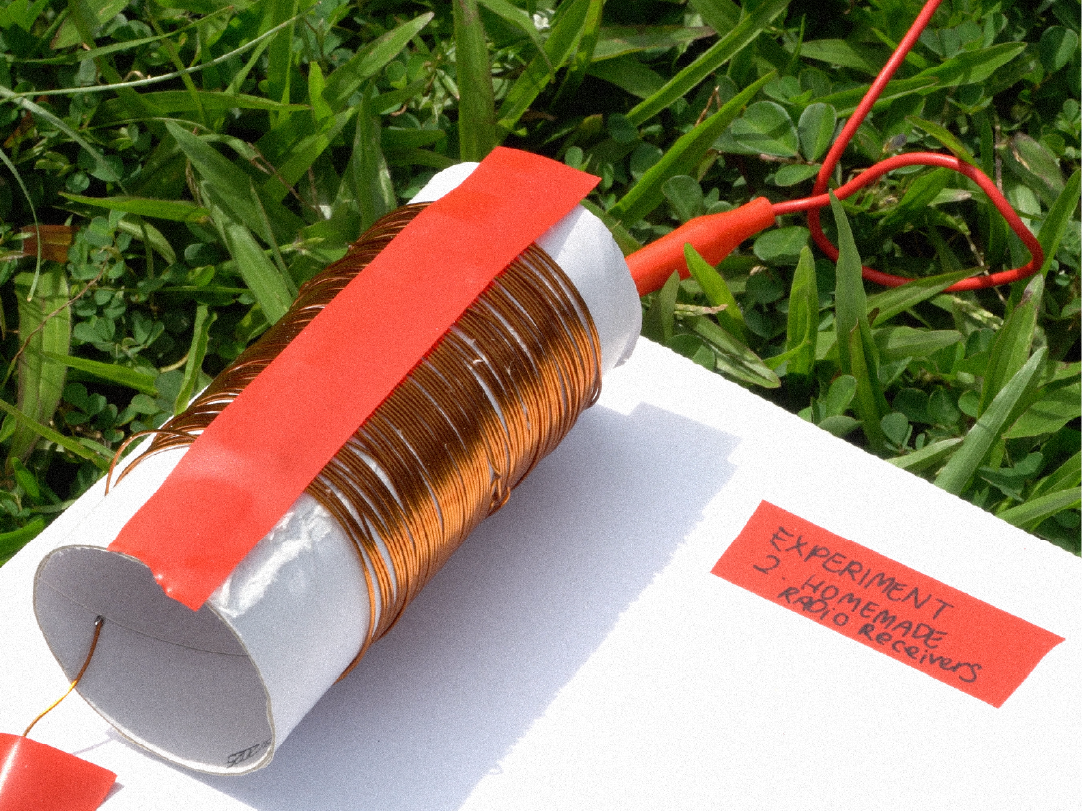
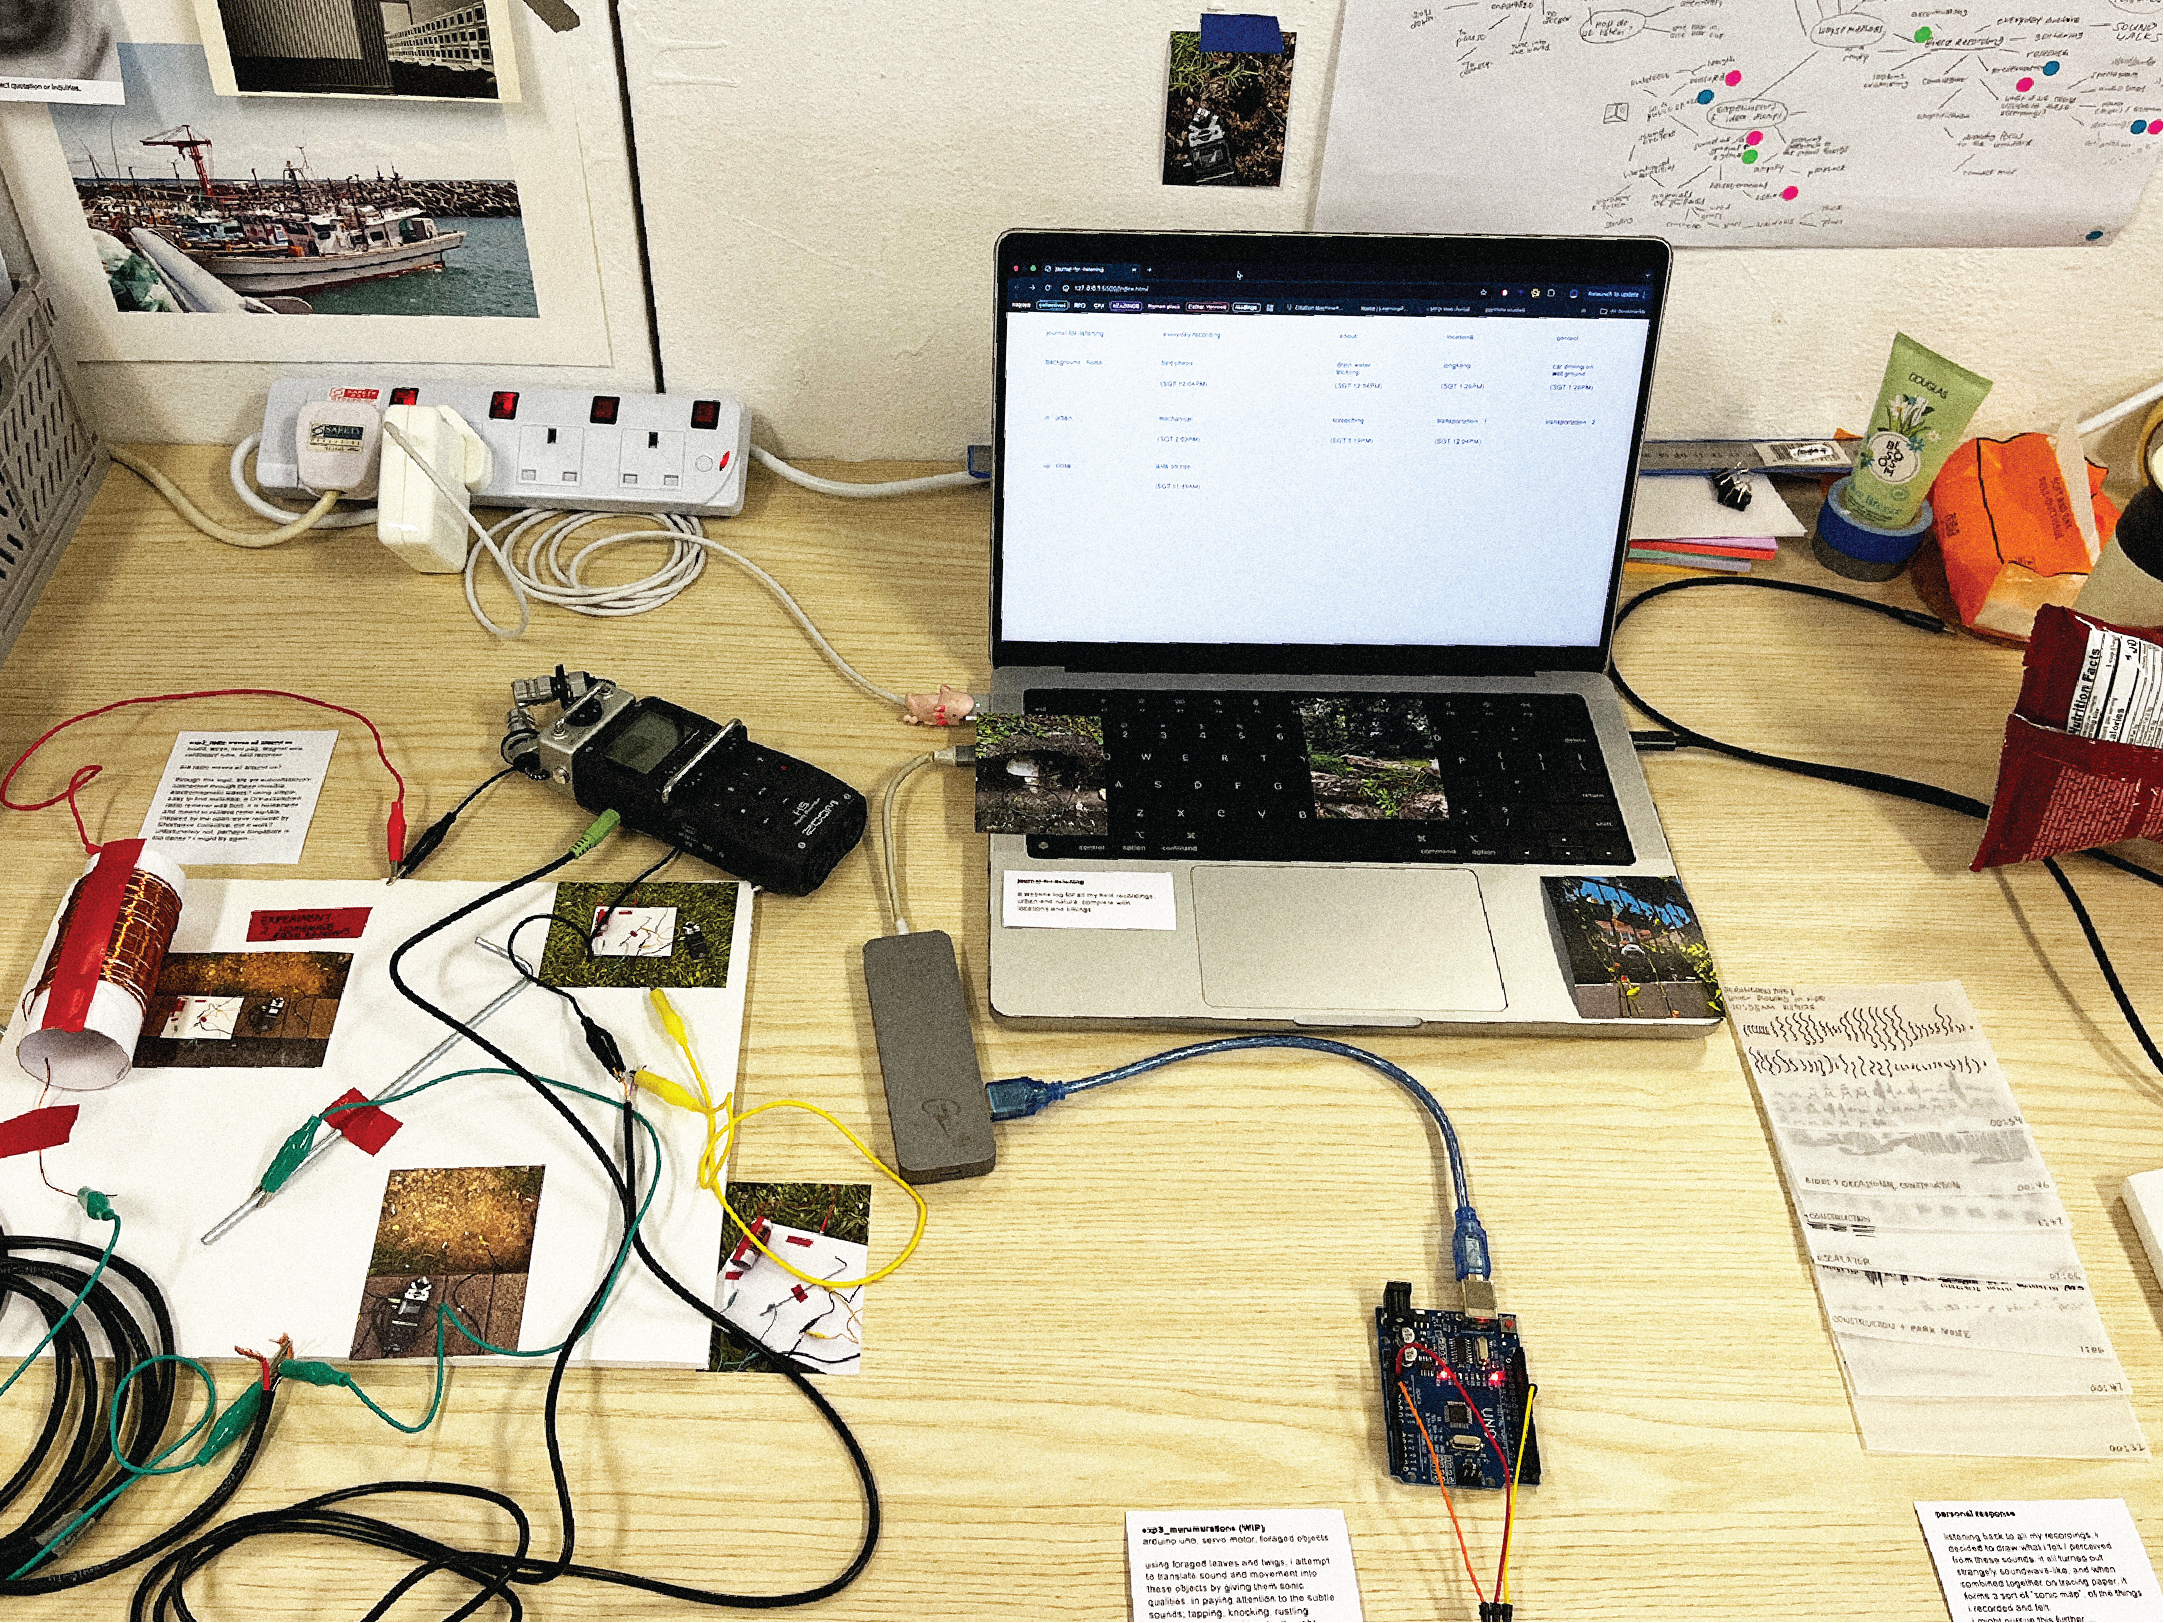
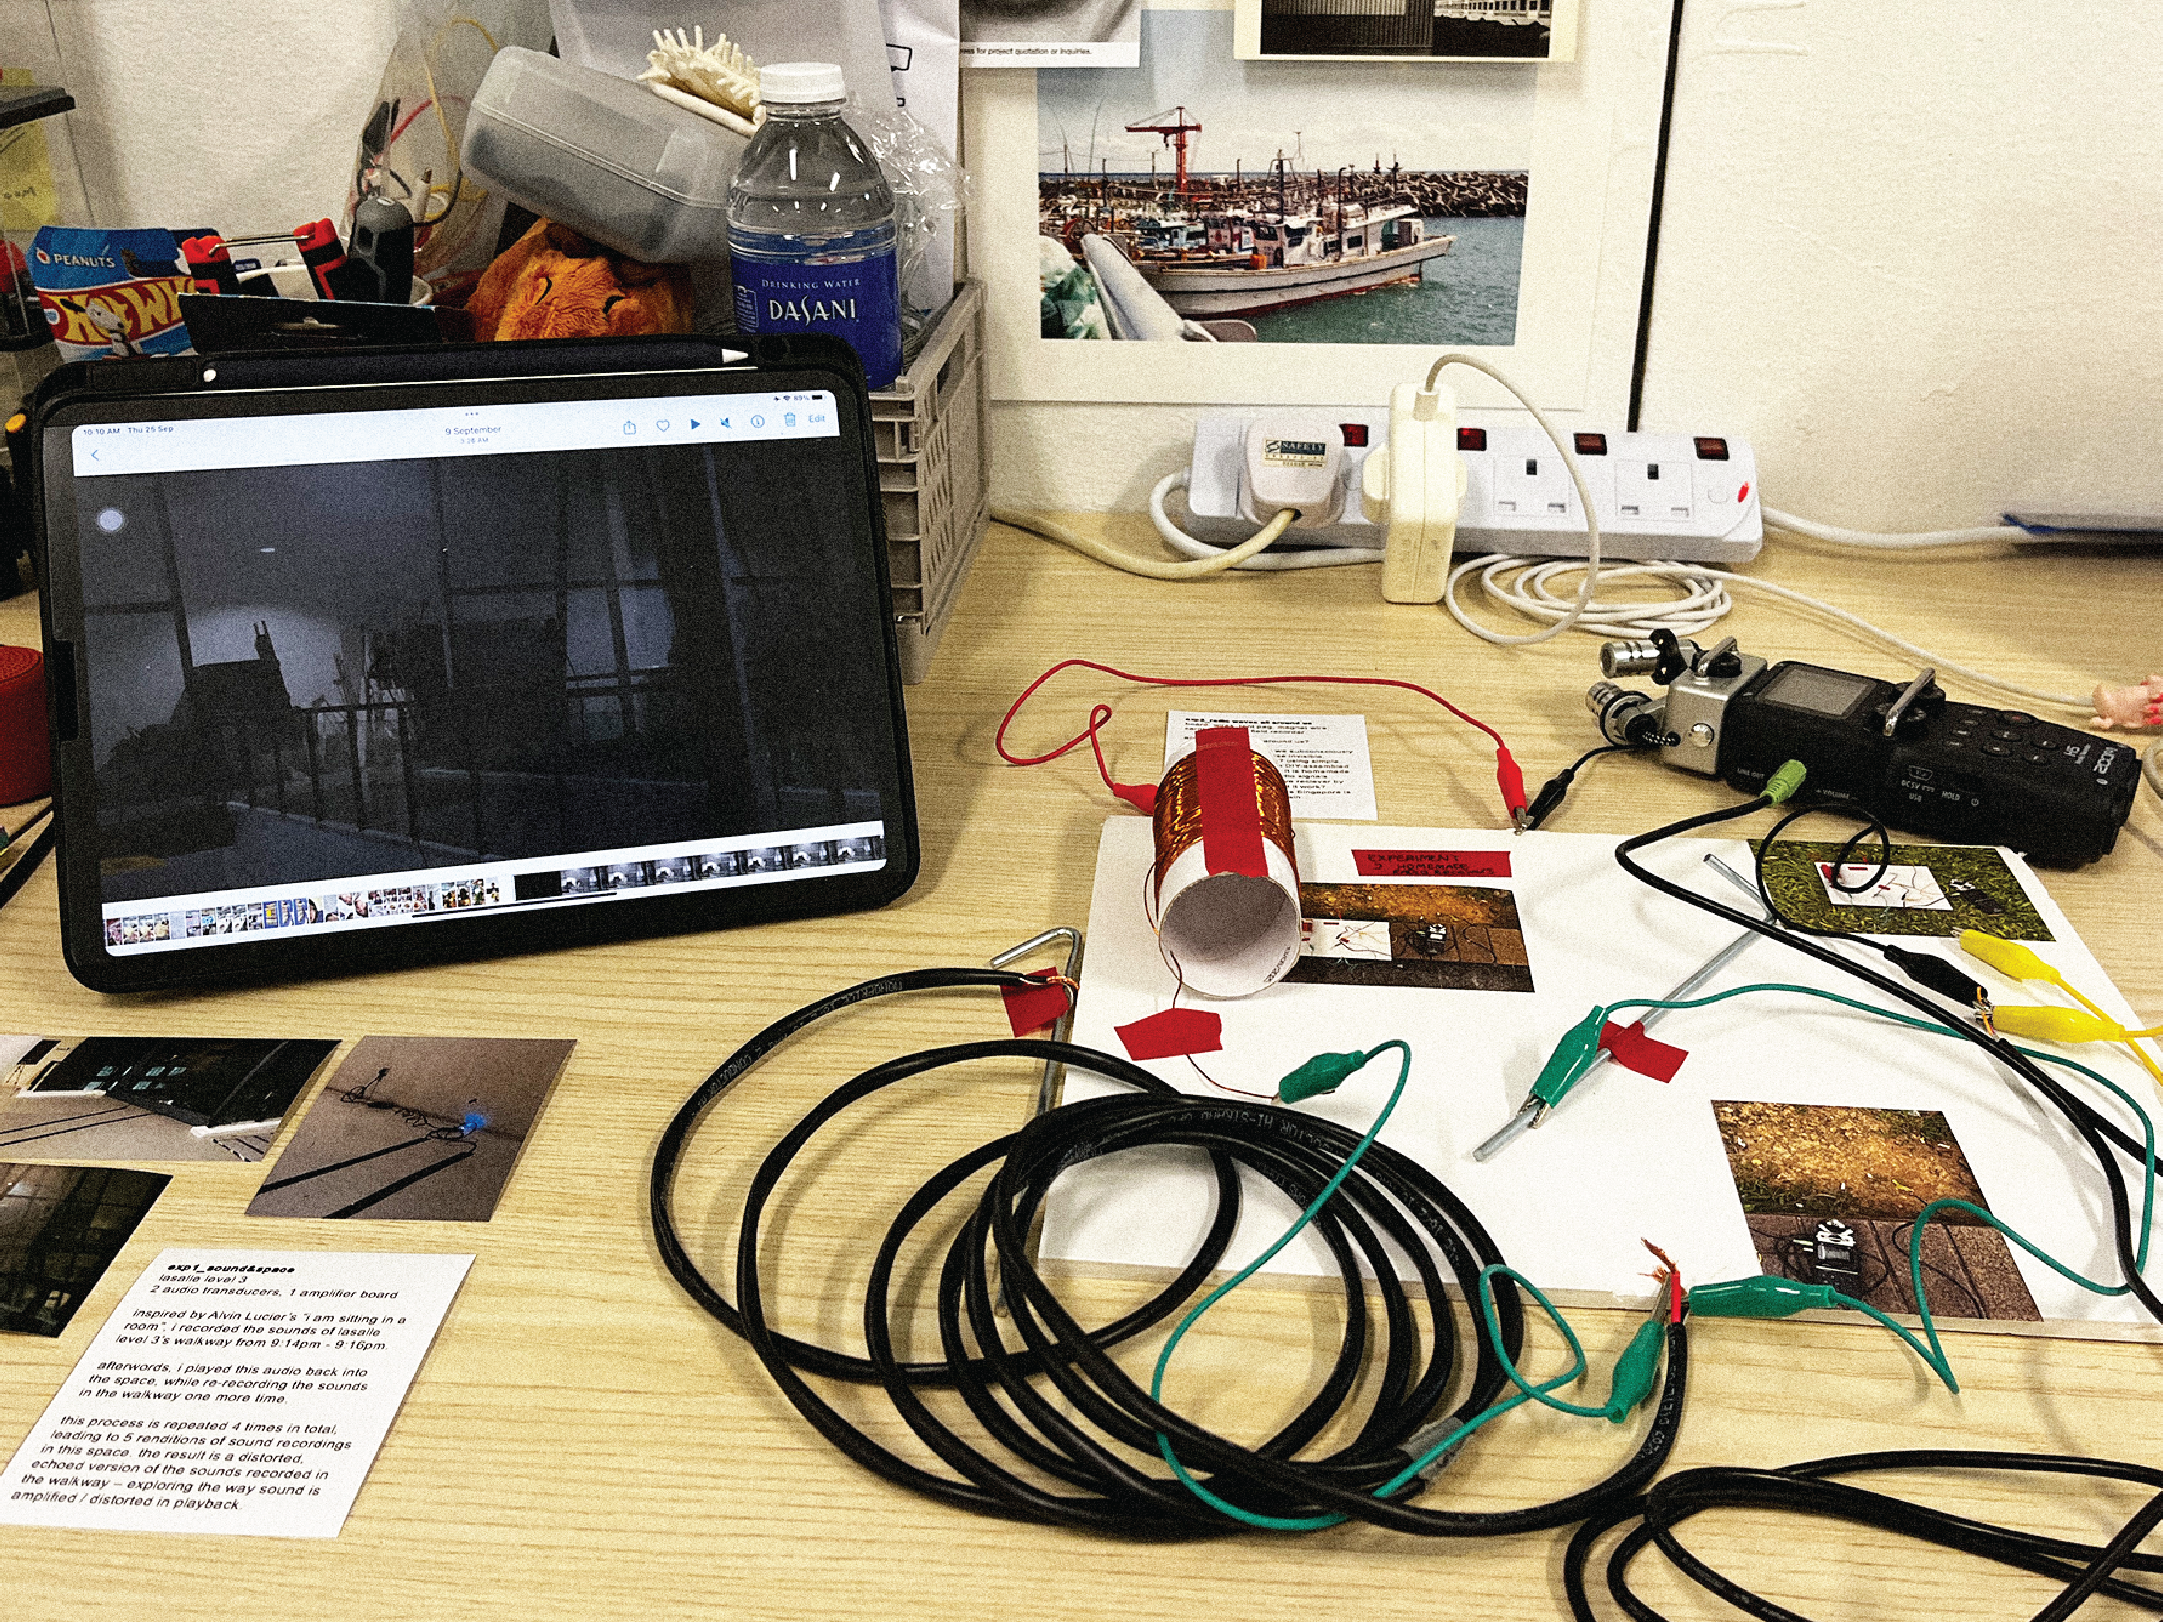
Snapshot of experiment 2
Experiment 2: Radio Waves Are All Around Us
My second experiment begun with the question: “Are radio waves all around us?”
As always, a quick google search
One of the inspirations behind this experiment came from discovering Shortwave Collective's work, which uses the electromagnetic spectrum as an artistic medium. An international feminist group, their practice revolves around listening to the electromagnetic transmissions embedded within our central soundscape. I first heard about them when they were holding DIY radio receiver workshops in Rotterdam, the Netherlands. These workshops taught people to build simple, low cost, no battery radio receivers with easy-to-source materials. Hence the name DIY.
Pictures featured in the workshops by Shortwave Collective
I thought, why not? And begun searching for material to construct my own DIY radio receiver with. Living in this concrete jungle of a country, I really wondered if I’ll be able to pick up any signals at all. But curiosity got the best of me, and I decided to try doing it anyway.
Understanding Radio Waves
They exist as a form of electromagnetic radiation, like visible light, but with a much lower frequency and are invisible to the human eye. We pass through them everyday without knowing!
Radio waves are produced by many sources in our environment, including cell phones, Wi-Fi routers, and broadcast towers.
Natural Phenomena, such as lightning, also produces radio waves.
Due to their low frequency, radio waves can pass through walls easily. So the chances of detecting them are pretty possible!
Of course, there’s so much more to unpack in the deep realms of electromagnetic waves. But this will do for now - its time to start making!
How To Radio
As a first timer trying this, I took reference from Shortwave Collective’s online guide to constructing a DIY radio receiver. The steps were relatively simple to follow:
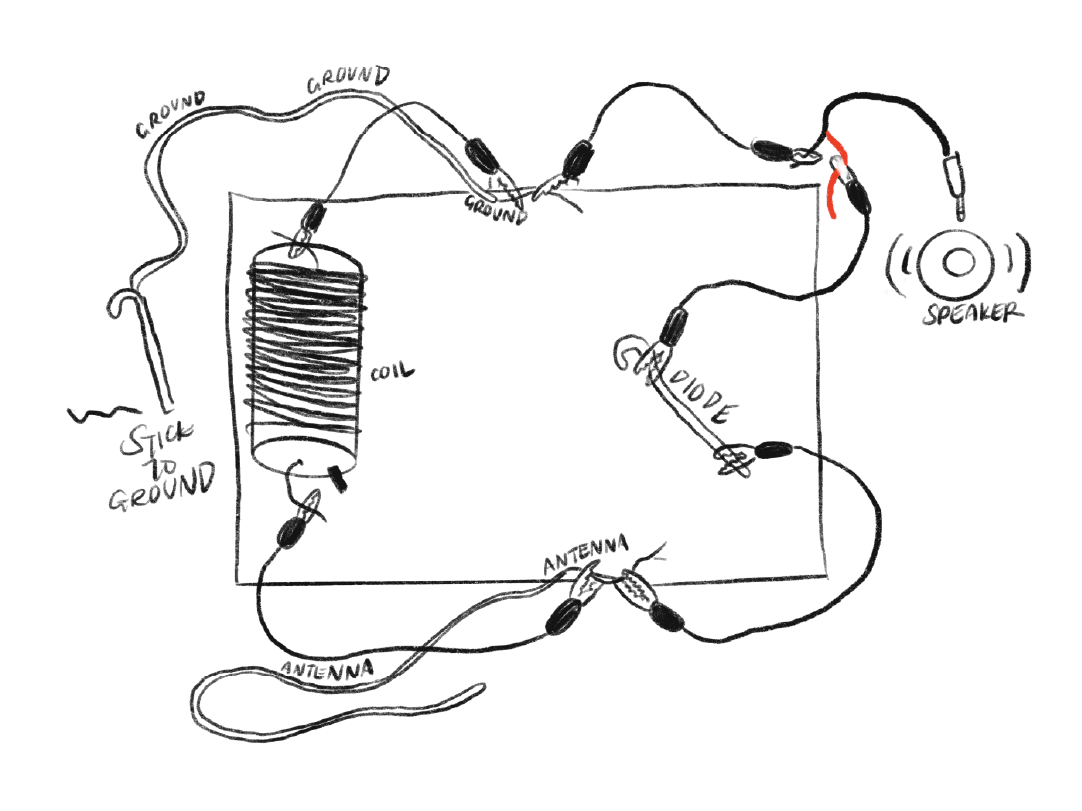
Radio receiver DIY set up sketch
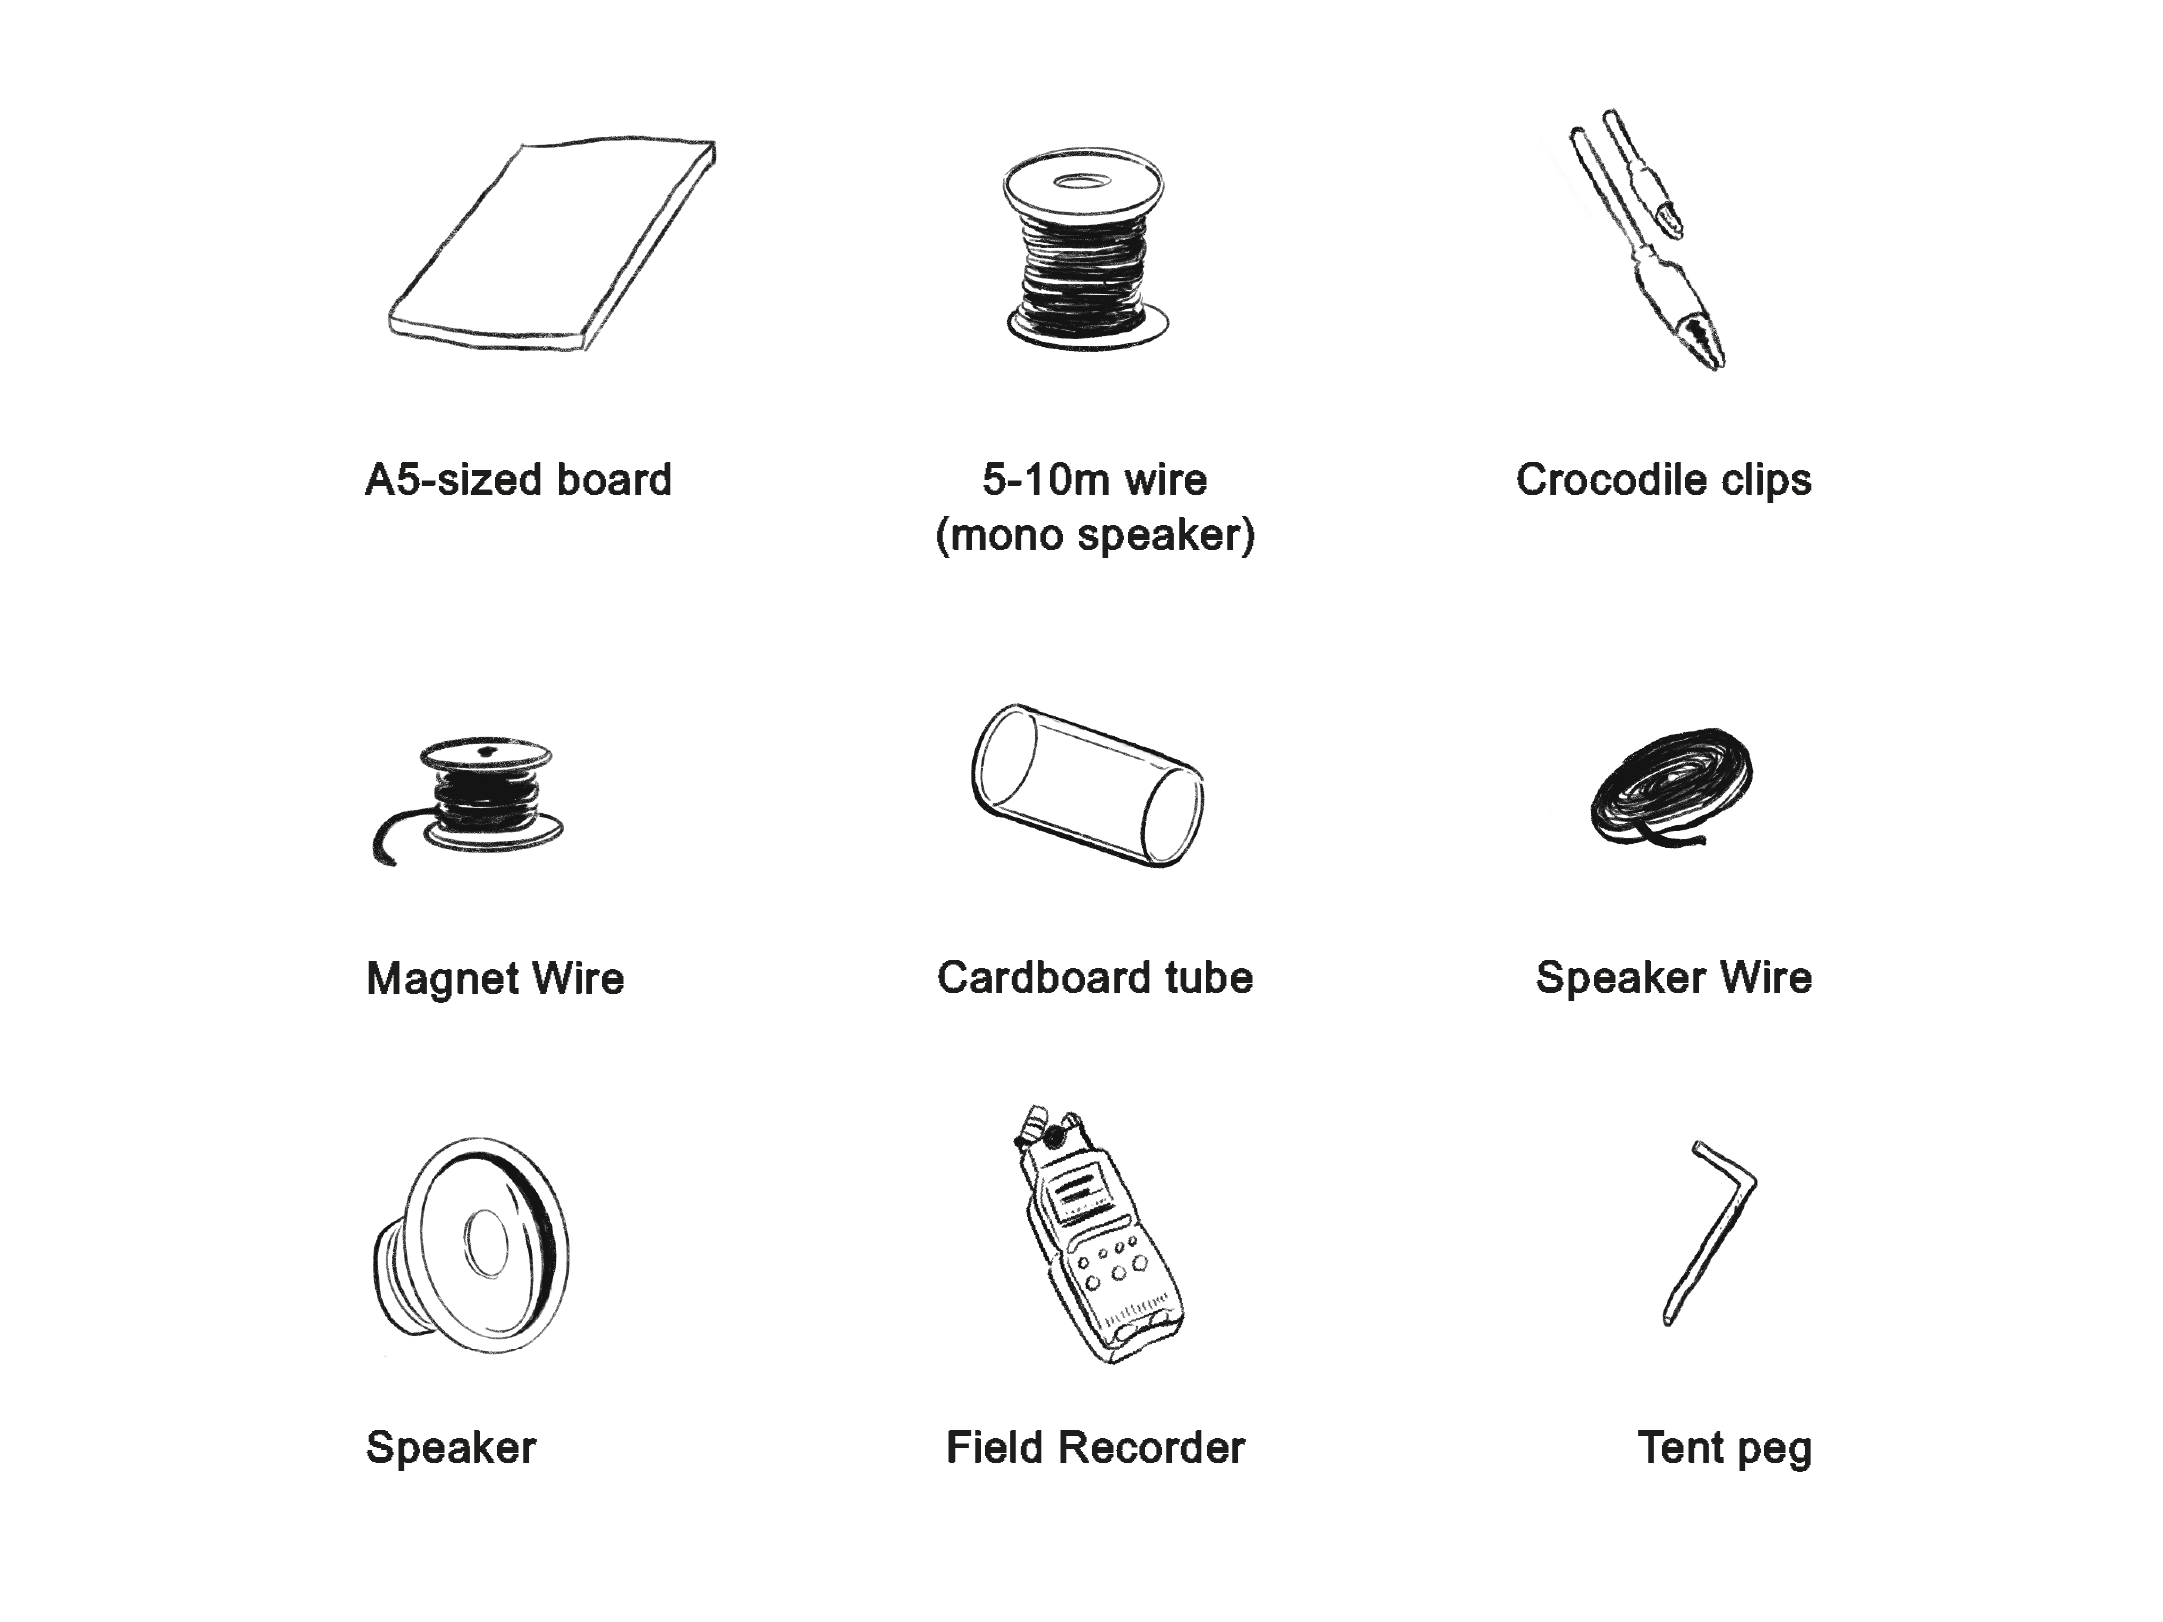
Material List
Instructions adapted from Shortwave Collective’s guide:
COIL
- 🔗 Poke a hole about 1cm into each side of the tube.
- 🔧 Thread 5cm of magnet wire through one side, from the outside in. Tape the wire inside the tube to keep it fixed.
- 🔧 Wrap your 12m of magnet wire in loops around the cardboard tube from one side to the other. Ideally, the coil should be wrapped tightly and no loops should overlap. Some kinks are inevitable!
- 🔧 Scrape the enamel coating off each end of the magnet wire using sandpaper, to make a bare end for your connections. Tape your coil to the board. Stick a crocodile clip onto each stripped end of the wire.
GROUND
- ✂️ Cut 1-3m of wire (if speaker wire, split into mono cables).
- 🔗 Strip 5cm of any plastic or other coating off both ends so the wire is exposed.
- 🔧 Wrap one end of the exposed wire around a tent peg (it will go into the earth outside) and tape it securely.
- 🔧 Connect the other end of the ground wire to the left side of the board with a crocodile clip.
- 🔧 Connect the other end of this crocodile clip to both the ground wire, and one stripped end of your coil (left side).
ANTENNA
- 🔗 Cut another 5-10m wire.
- 🔧 Strip the plastic coating off 5cm at both ends.
- 🔧 Connect the stripped end to the right side of the board between the coil and the tent peg, using a crocodile clip.
- 🔧 Connect the other end of the crocodile clip to the second end of the coil (right side)
ESTABLISHING A CONNECTION
- ✂️ Attach a crocodile clip to each end of your mini-jack.
- 🔗 Connect the crocodile clip from the bare metal on the black strand, to the right hand side of the board. It will be connected to the antenna wire later.
- 🔧 Connect the crocodile clip from the bare wire on the red strand, to one end of your diode/second tent peg.
A Little Reflection
The whole thing took me about half an hour, it wasn’t as difficult to make as anticipated! I struggled a little trying to connect the parts together at times as there were so many wires. Ultimately, the final product looked extremely DIY, so I wasn’t sure if it would work.
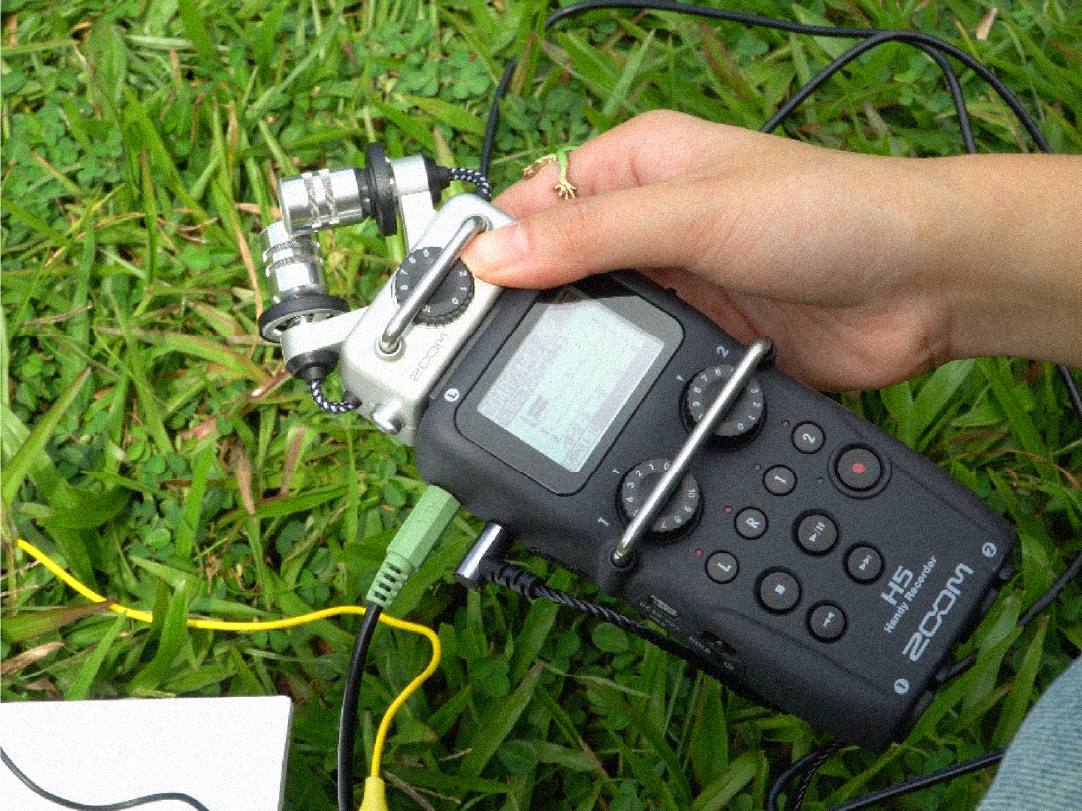
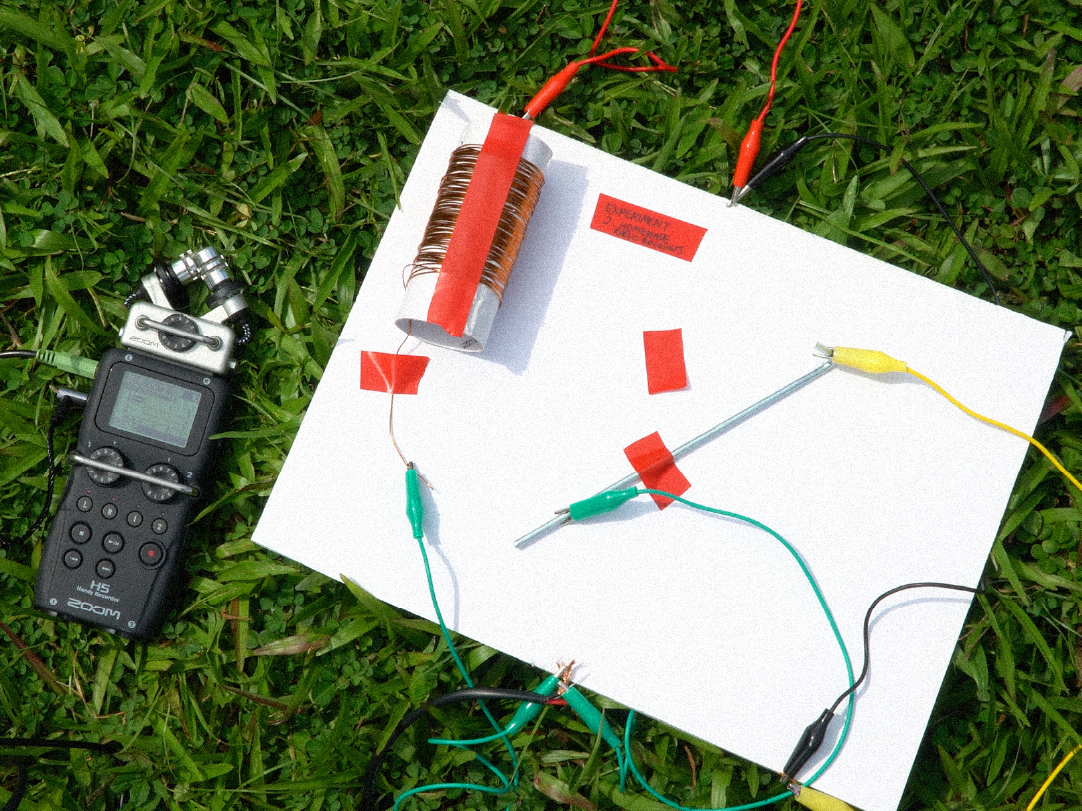
It was time for me to do some testing! I went down to the big grass patch below Lasalle and got to work poking my tent peg into the ground. For a DIY set up, it was relatively easy plugging it into my field recorder, though there were many wires I had to juggle. There wasn’t any specific reason as to why I chose the grass patch; it was the closest location and really wide, so I thought I might pick up some faint radio signals.
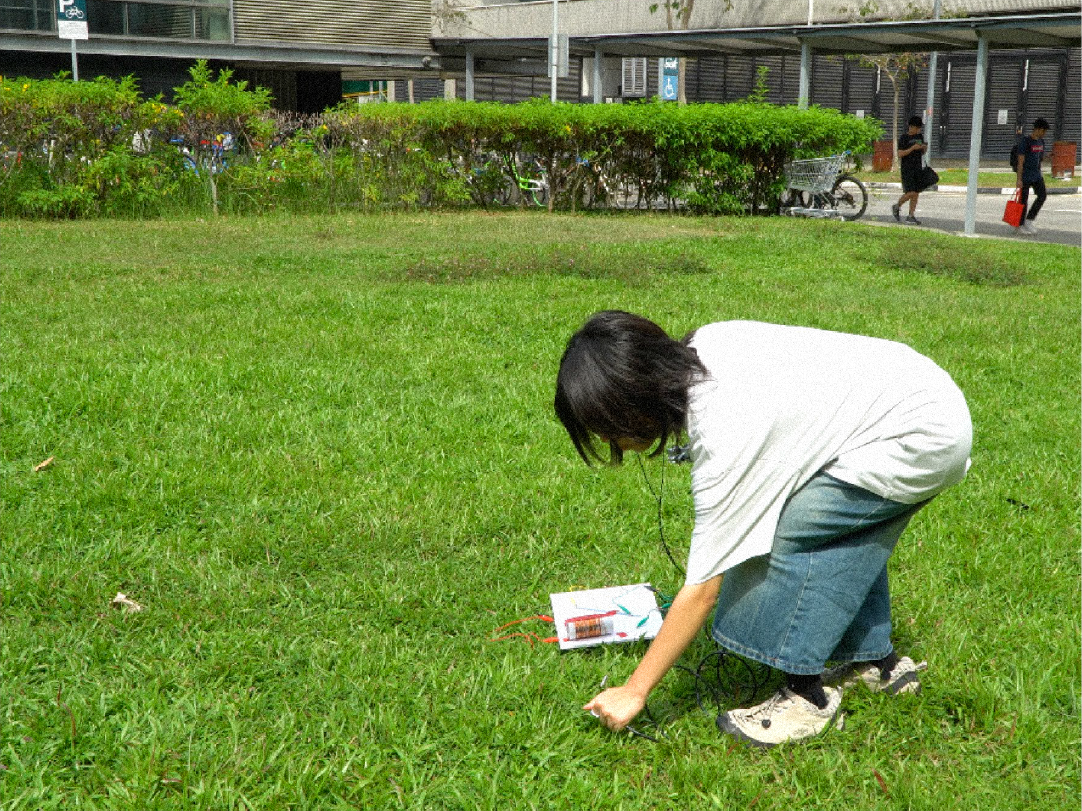
Stills of me in the field (Documentation help by Jared!:D)
Driving my tent peg deep into the ground, I listened intently through my earphones, trying to detect any incoming radio signals. Instead, all I heard was the wind and ambient noise around me. I wasn’t too shaken as I kind of saw it coming, so I tried tightening some of the wires in the setup and making sure everything was secure before trying again.
I walked around different areas of the grass field, trying to detect even the slightest sound. Desperate, I also tried “tying” the tent peg around a tree, and also putting it near the drains (because metal? I don’t know). Unfortunately, it was a bust. All I managed to record was the surrounding noise. Zero radio signals.
Closeup shots
Was I disappointed? Honestly yes, but also no. In terms of location, I could have explored hilly areas or open areas with fewer obstructions. However, this experiment felt more like satisfying a curiosity – one small corner of the sound realm I wanted to explore. At this point, I'm unsure whether I'll pursue this further, as it doesn't seem like something I want for my final outcome. Nevertheless, it proved to be an interesting process, and I learned something valuable: AM radio waves actually travel farther at night, so radio signals will be the strongest then. I didn’t know that! Perhaps I’ll take my DIY receiver out at night to test someday.
Mock Up Presentations!
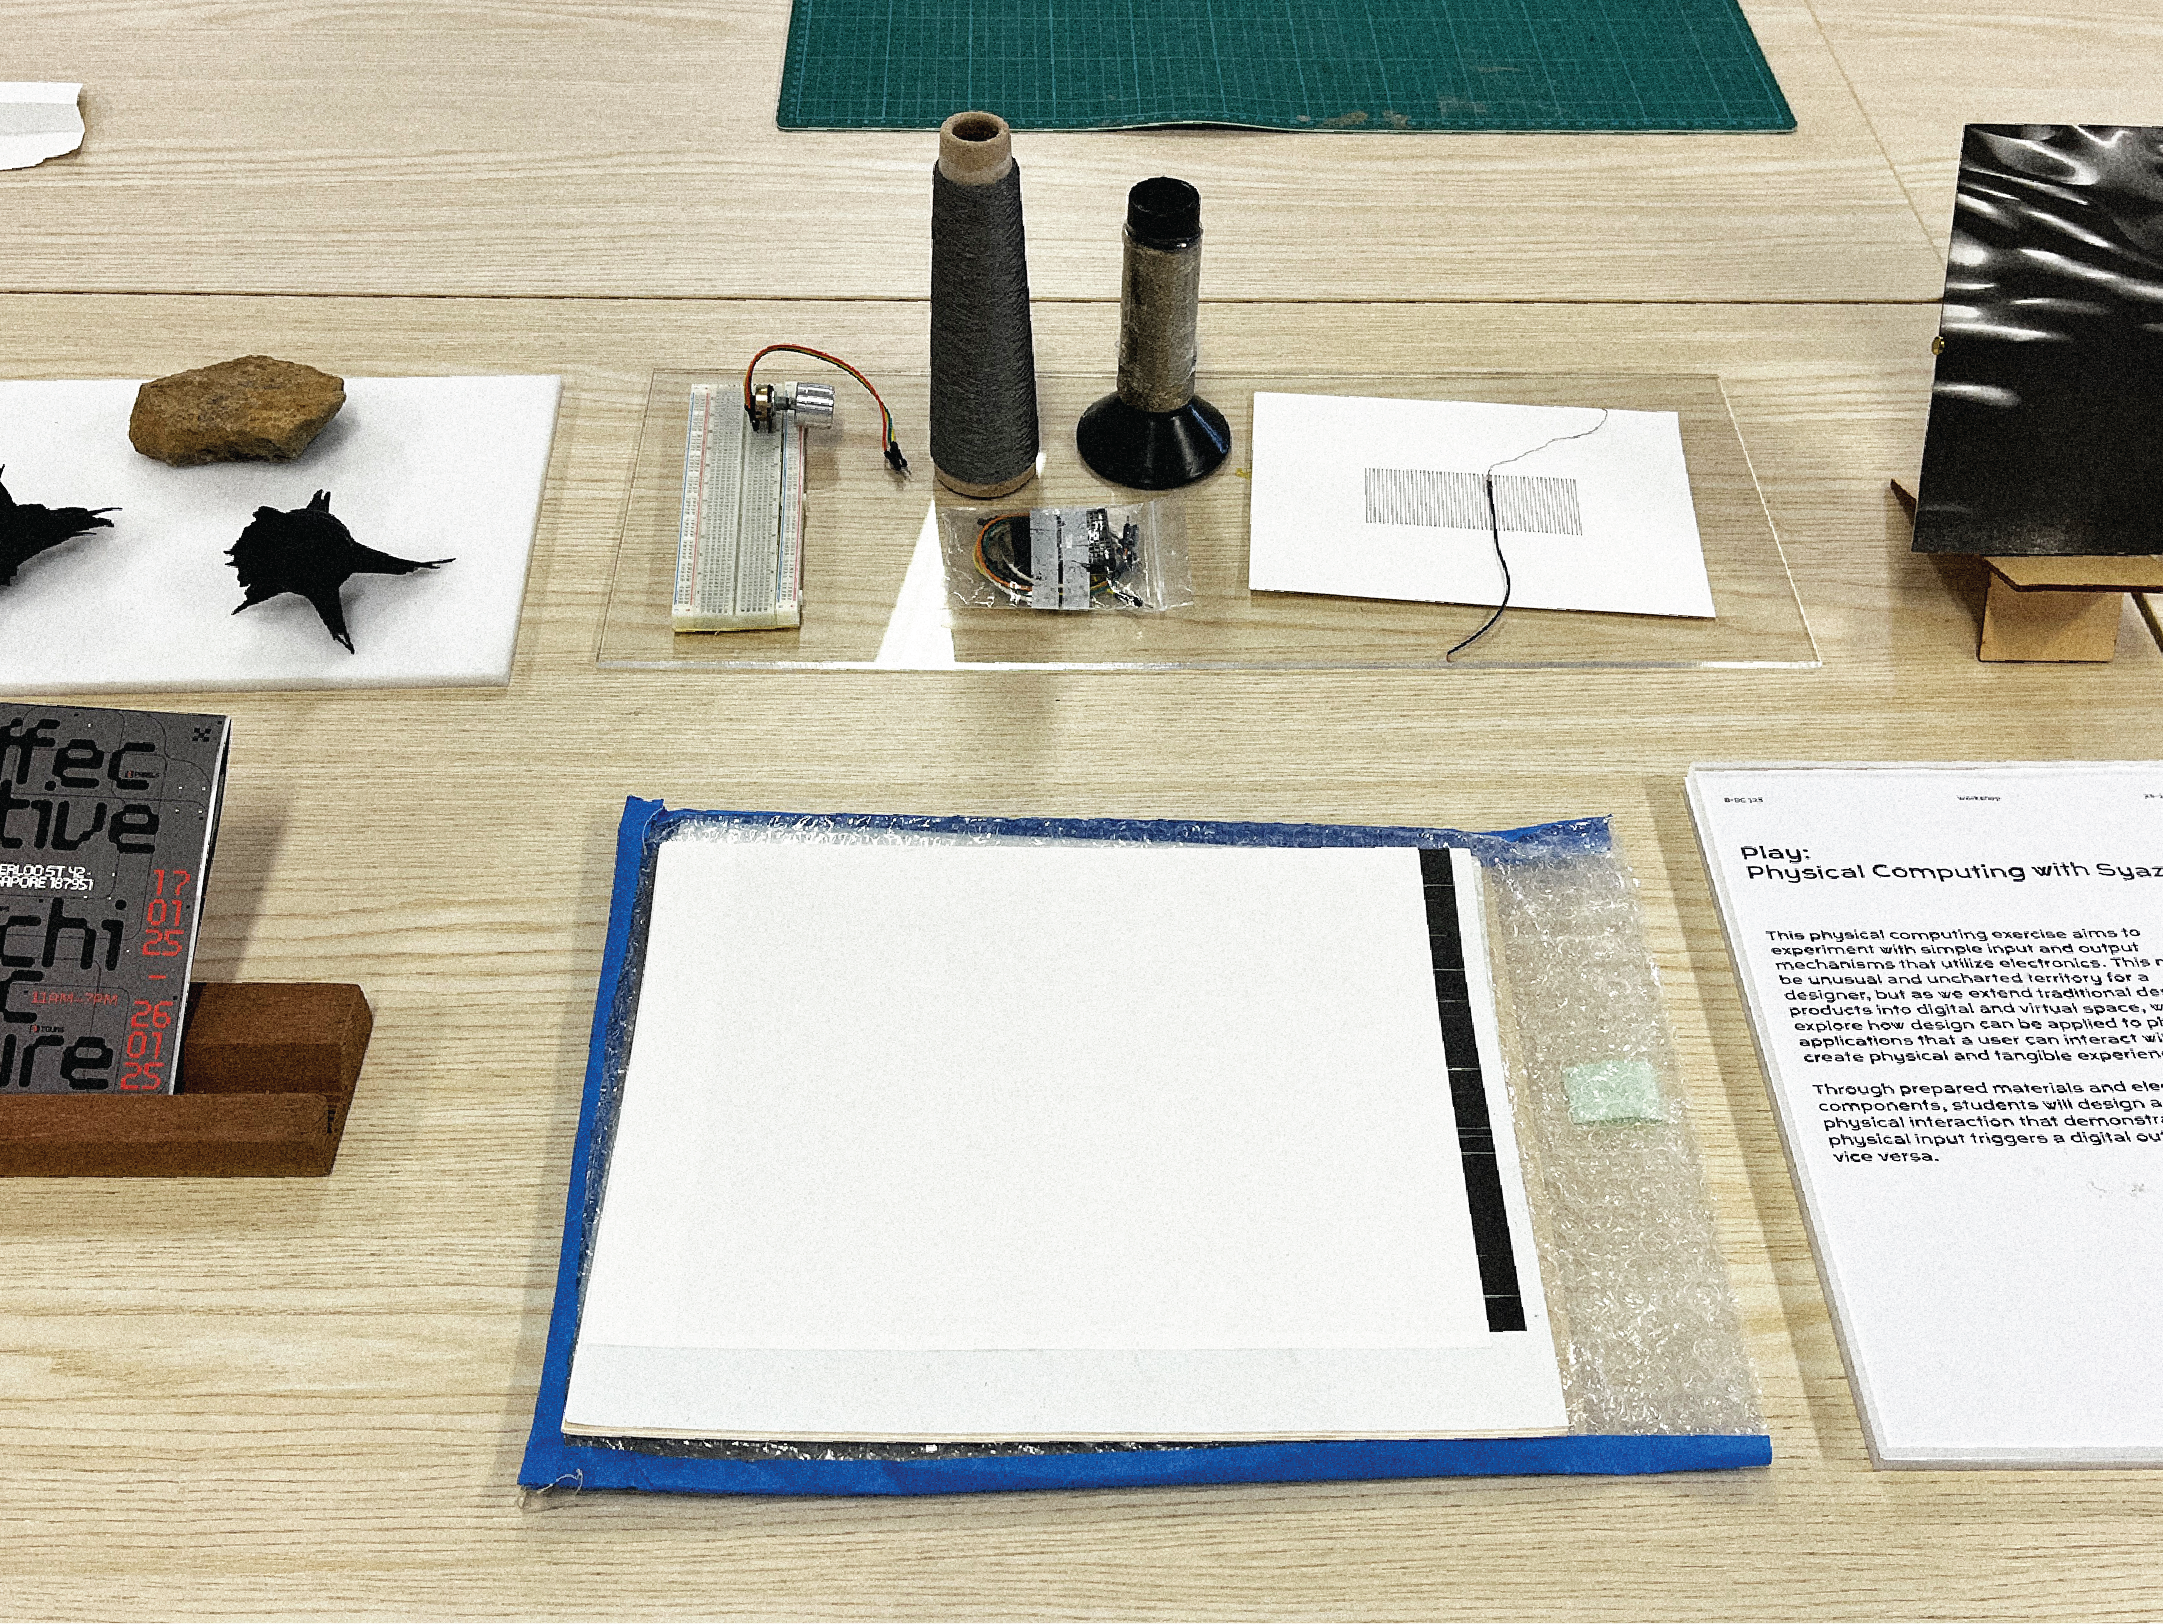
Today we had a little set-up session with all the experiments we did thus far - in preparation for a formative presentation next week. To start off, Andreas showed us a set up of works on the table, neatly arranged in sections.
Layers are appreciated here – different works can be presented on wood boards or propped up on blocks. To show project writeups, using an acrylic board makes everything look more presentable and neat.
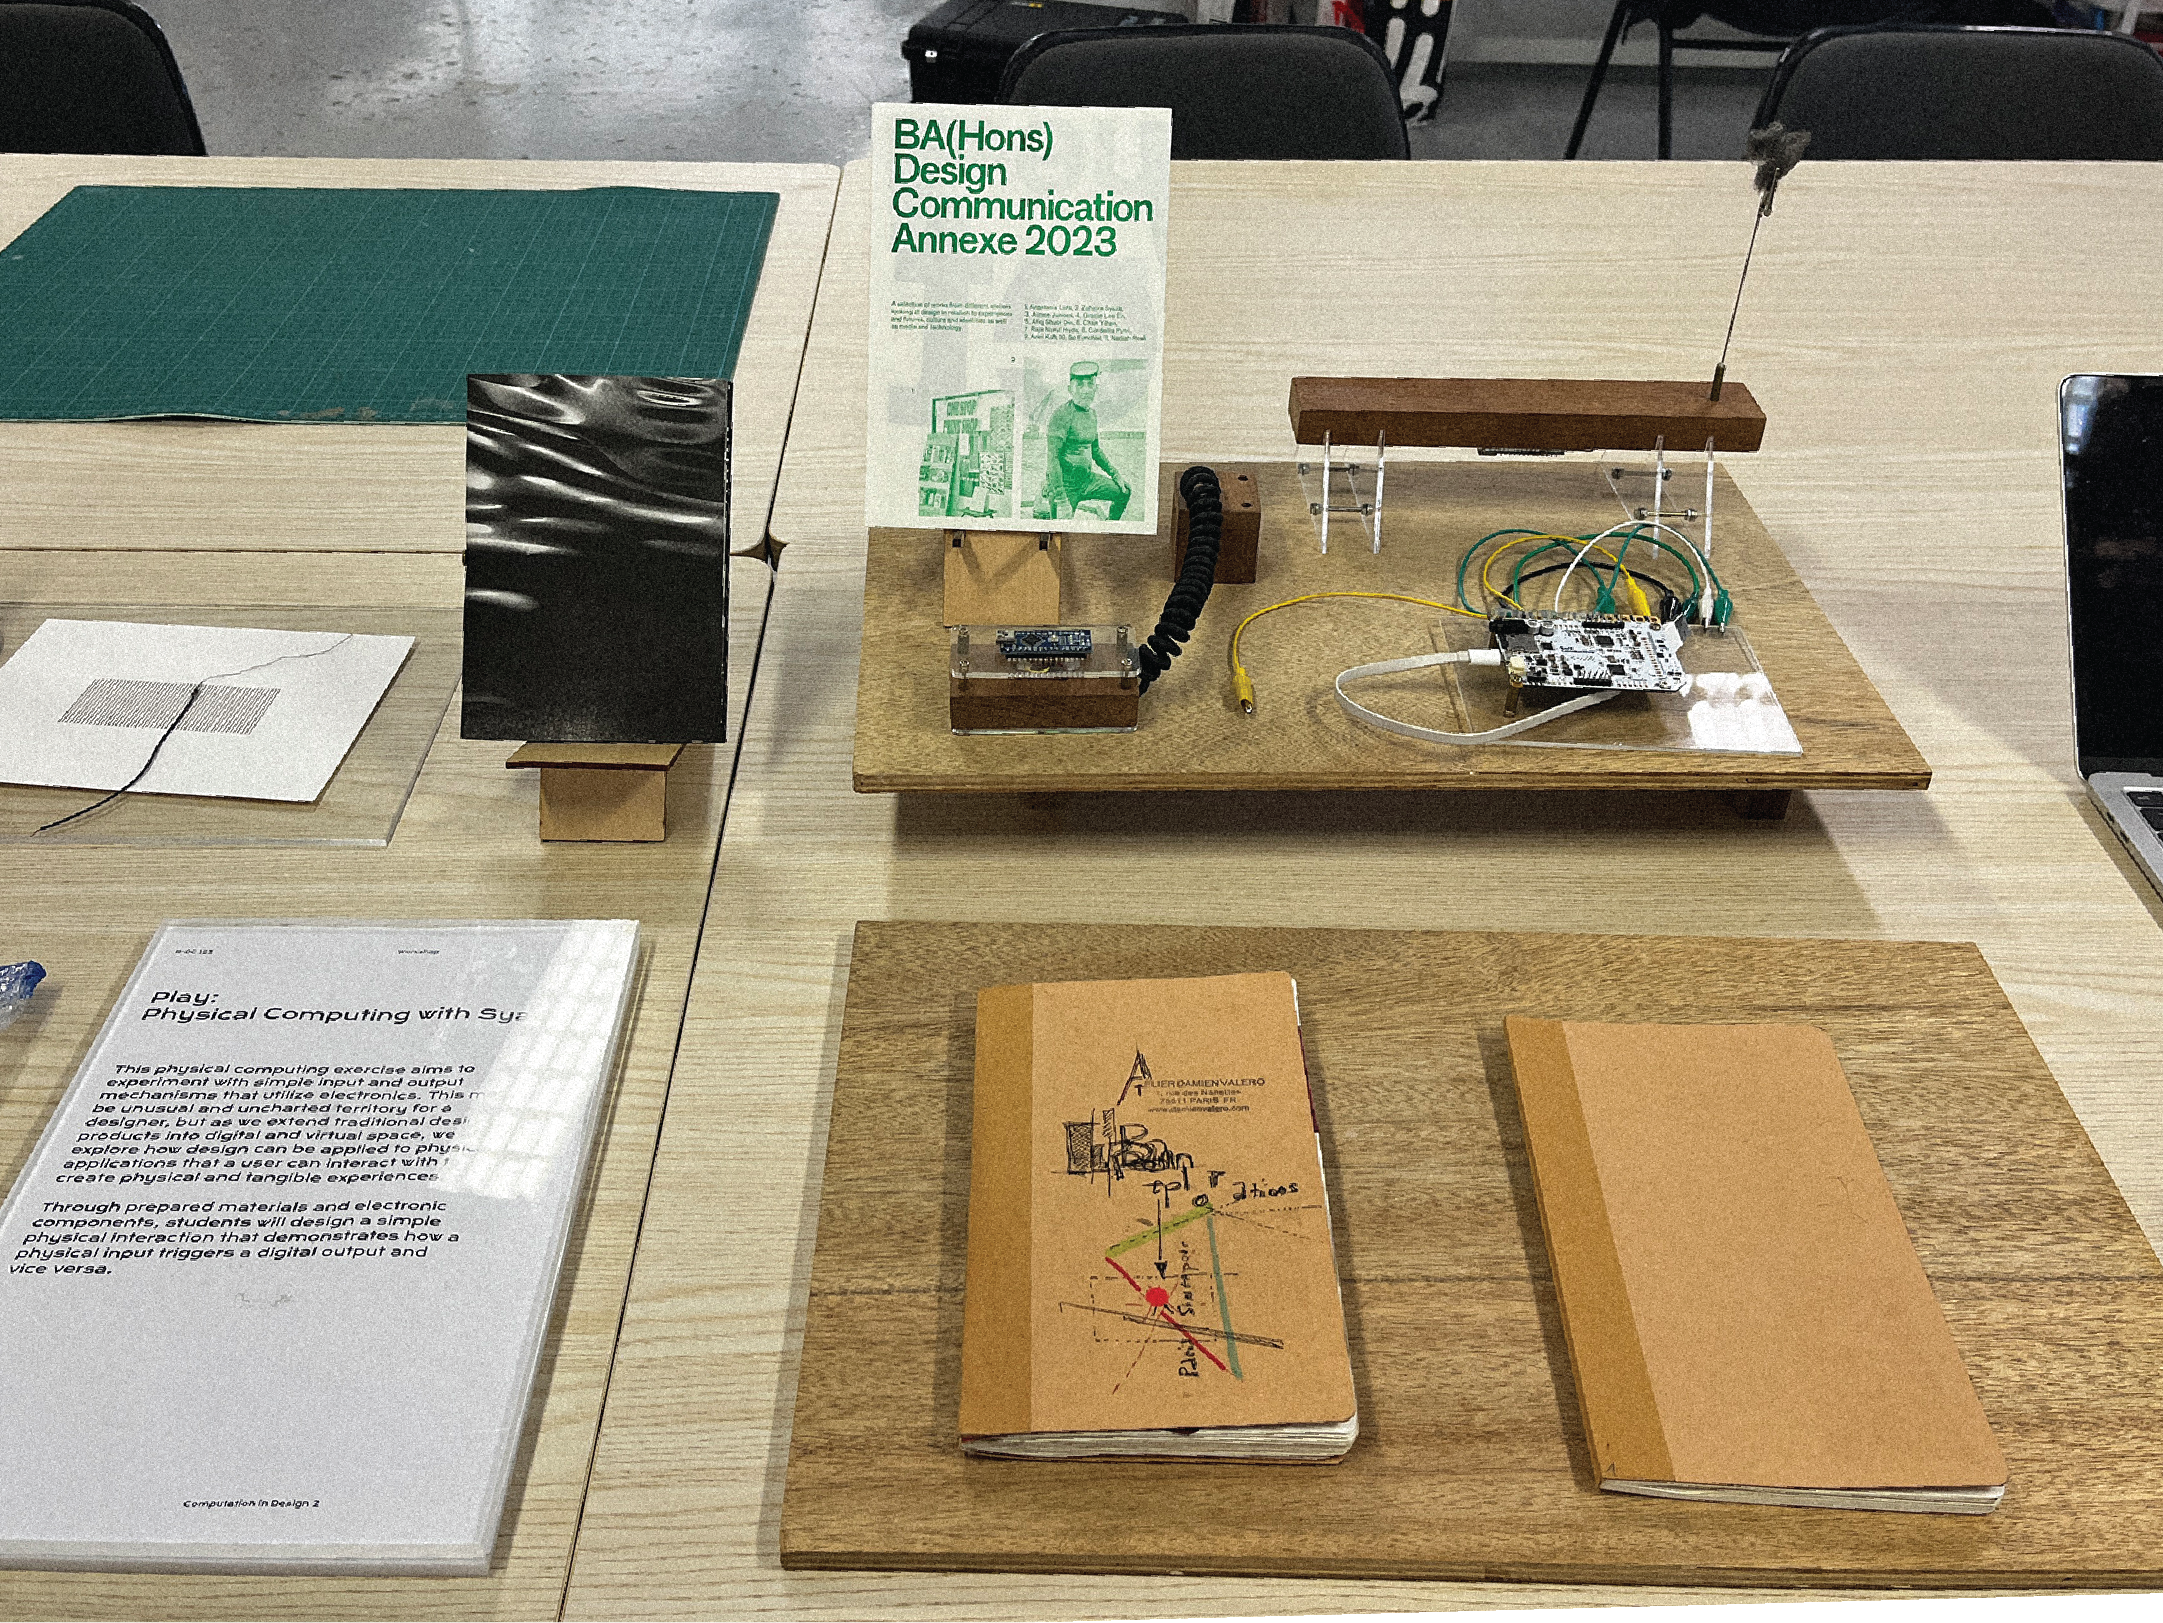
Andreas' set up (took him 10 minutes only!)
This was my set up; quite messy haha, everything was presented in the spur of the moment. I was more focused on presenting each individual experiment, neglecting the overall look and presentability of everything. Andreas remarked that my mini-mock up set up looked quite DIY; there were a lot of stuff on the table which seemed pretty messy. Funnily enough, he said that it was okay if I could pull it off as a style of my own. If not, I could try to arrange things in a simpler way.
A really messy set up...
Nonetheless, he remarked presently, I’m in the stage of doing a lot, and trying a lot. It seemed that I chose to go by a more experimental approach, harbouring the DIY spirit and doing small projects. That he appreciated a lot, which made me feel a little relieved. With these experiments so far, I’ve been feeling a little lost and hesitant on its overall meaning and linkage back to design. Hence, the small projects felt too small and insignificant at times – Andreas reassured me that its alright to continue with this in Semester 1. Afterall, this semester was the time to try everything! To break stuff, make mistakes, try as many ideas as we can, no matter how weird it may be.
Understanding the tinier sounds: A new direction?
Lately, I've also been thinking about the tinier sounds in life – those we encounter every day, from environmental noise to passing conversations. How much attention do we truly pay to the smaller murmurs around us?
I began by listing verbs associated with these smaller sounds – actions both subtle and direct that produce quiet sounds we often overlook in daily life.
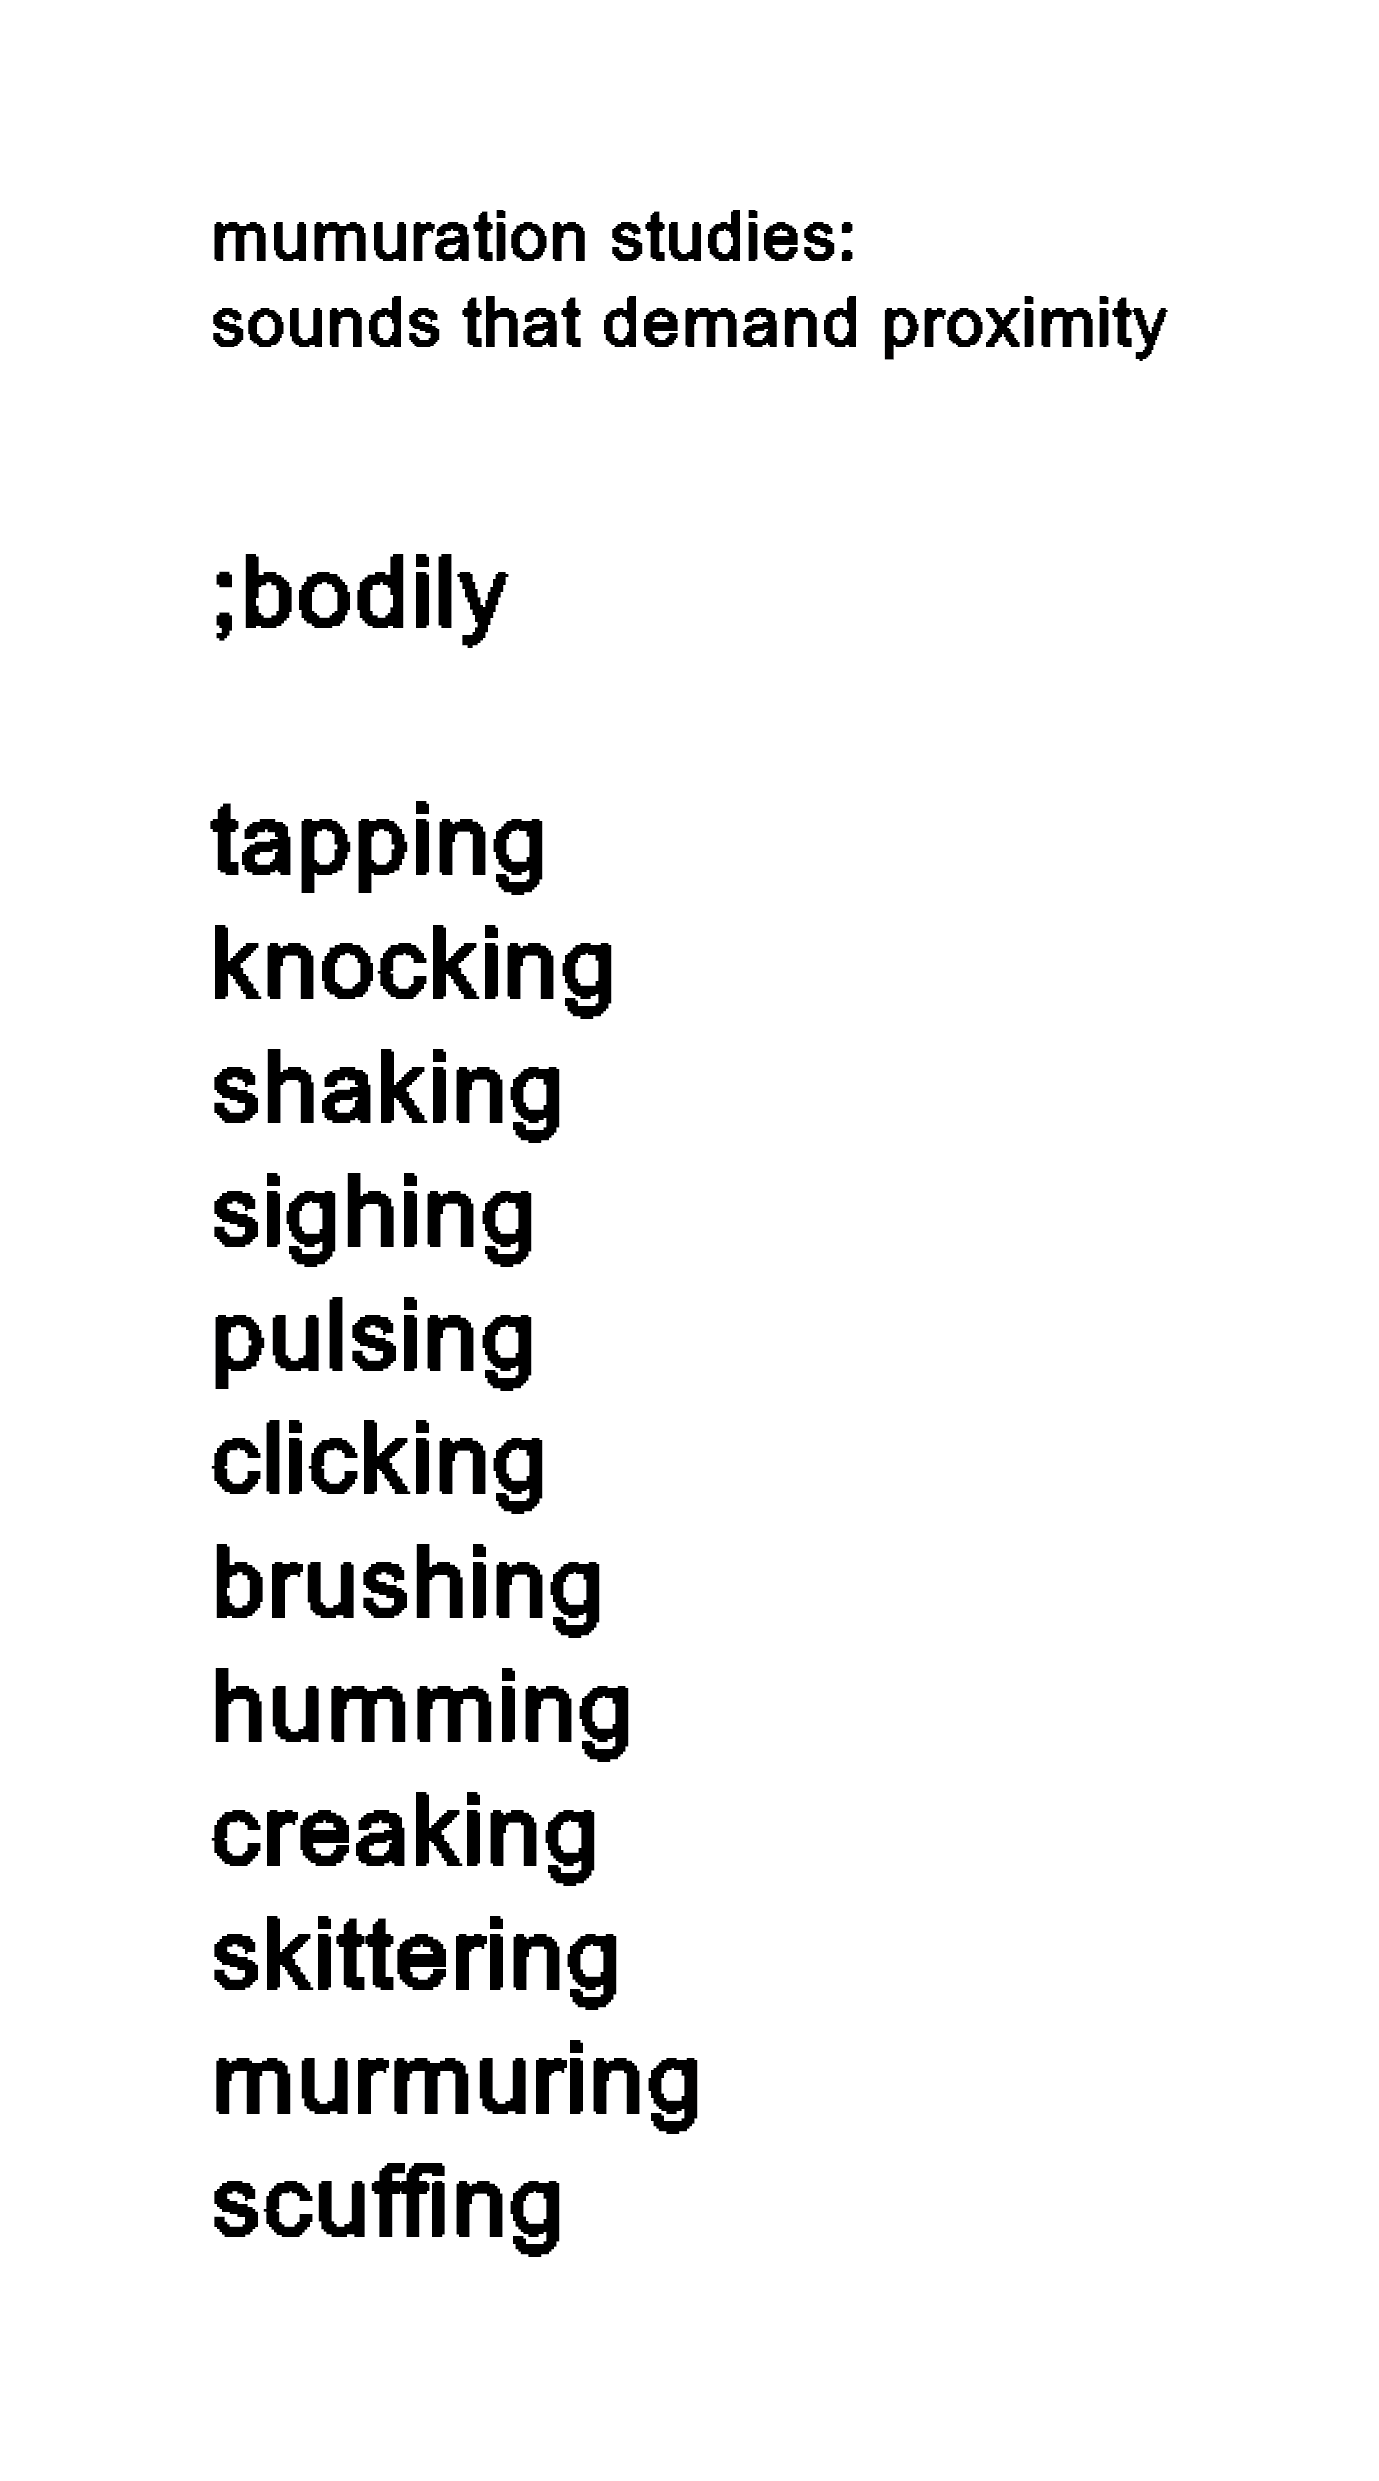
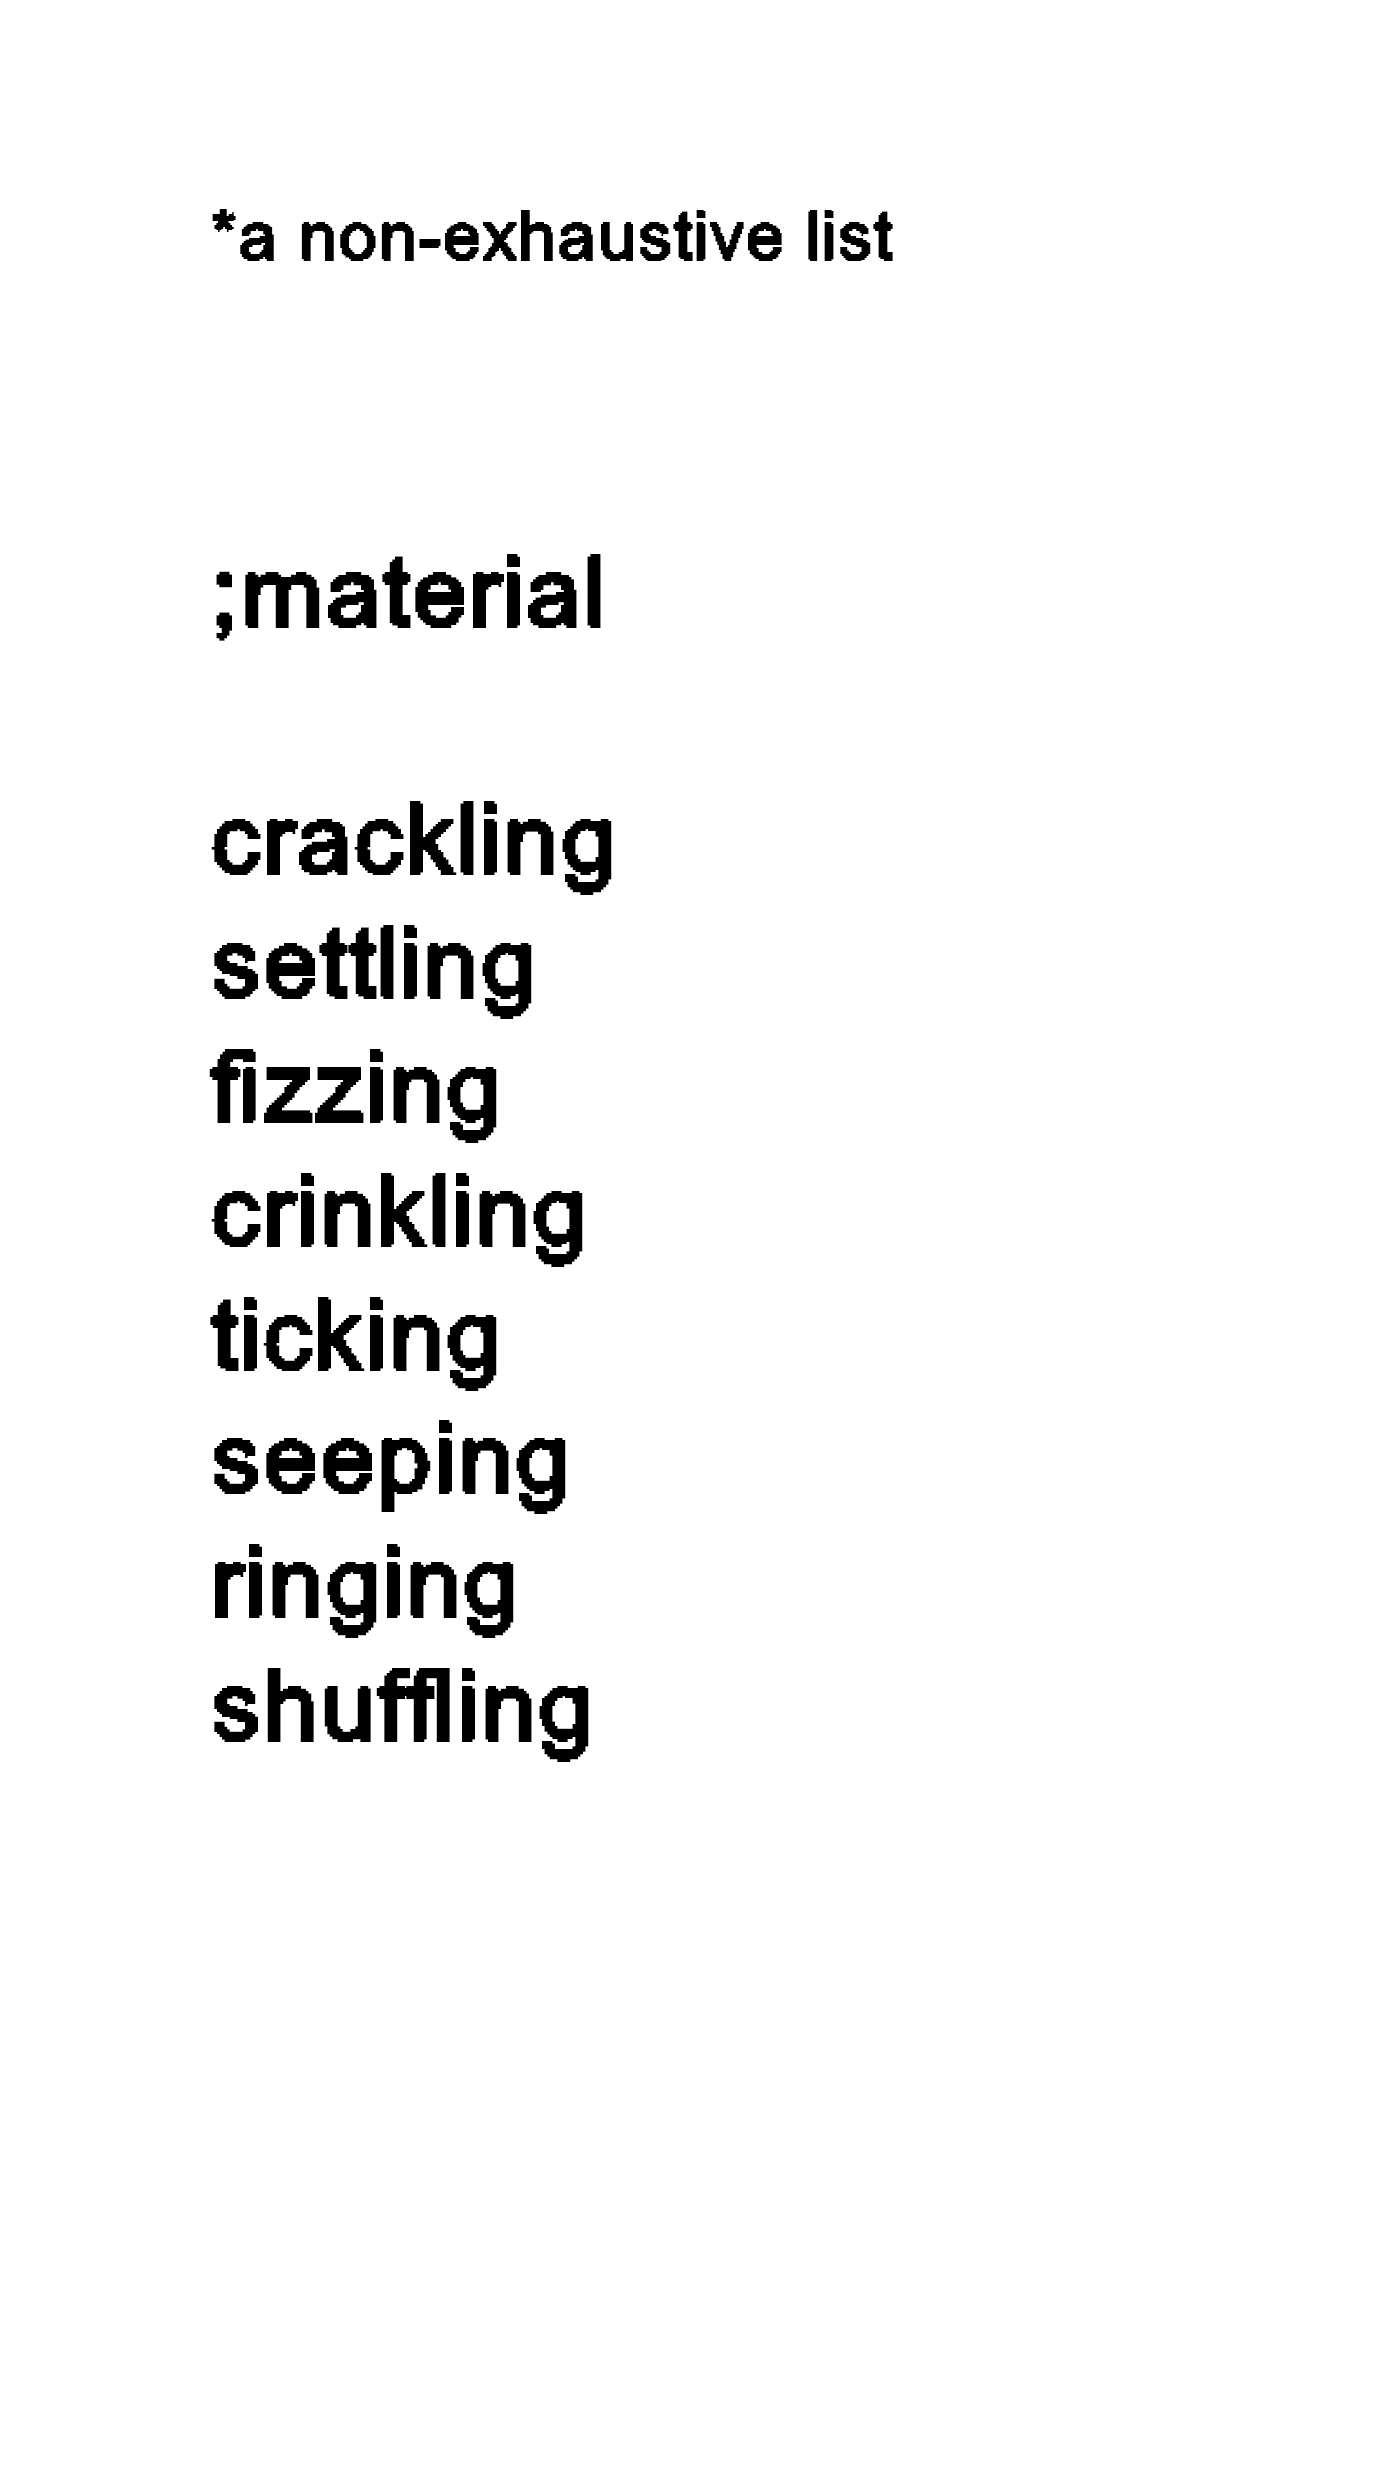
the list goes on...
Where do I go from here? I have a million questions I would like to ask myself; Do I make these tiny sounds intentionally? How do I go about executing it? How can I execute this idea in a way that provokes thought and reflection? Why draw attention to these tiny sounds?